
How to Build a Peg Rail Shelf
This post may contain affiliate links. For more information, you can read my full disclaimer here.
Building a peg rail shelf is a fairly easy DIY project if you’re looking to add a little character and also a little storage to your home! I recently build a wooden peg rail in our upstairs bathroom. And it was such a simple update but it has added so much charm to the space, and another place for me to decorate too which I am loving!! So today on the blog I thought I’d share the simple DIY for how I built our peg rail shelf.


I had been wanting to tackle a project like this for a while now, and I even purchased these shaker peg hooks from Amazon in anticipation! So when my kids accidentally pulled the towel bar down in their bathroom, I jumped at the opportunity to build one for that space. Clearly we need a more sturdy solution for hanging towels in here anyway! And this wooden peg rail shelf is both sturdy and functional, but also much prettier if you ask me!


Building this peg rail shelf was honestly a pretty simple and easy DIY project. So if you’ve been considering building one in your home and were feeling intimidated by it, I promise you if I can do this anyone can! Not including the time I spent painting, or should I say picking a paint color, the entire project was completed in just a few hours. If you know your paint color ahead of time and have all your supplies ready to go, you could totally build your shelf and have it finished in a day!


How to Build a DIY Peg Rail Shelf – step by step
How to Build a DIY Peg Rail Shelf – step by step!
- Determine the desired length and depth of your shelf.
Our shelf is 39 and 1/2 inches long, and the shelf is about 3 and 3/4 inches deep. I opted for a shallow depth shelf because this peg rail shelf is located right behind the bathroom door, and I needed to allow room for the door to open fully.
- Cut your boards.
Measure twice, cut once. I used a 1 x 6 for the peg board, and I used a 1 x 4 for the shelf board. (I know, that might sound confusing. The shelf was about 3 and 3/4 deep, but I used a 1 x 4. That’s not an accident, and I didn’t shave 1 /4 of an inch off. Lumber is never exactly 1 x 4, but it’s close and that’s what they call it.)
- Assemble your shelf.
Depending on the depth of your shelf, you could use corbels / brackets to stabilize and support the shelf board. If you are only using a 1×2 for your top shelf board, you may only need screws to secure it to the peg rail board. Our shelf depth was 3 and 3/4 inches, and so I opted to install these metal corner support braces to the top and back of our peg rail shelf. The are pretty low profile, so you do not notice them, especially after painting. But they really help to stabilize the shelf! (And like I said earlier, for a kids’ bathroom I need sturdy and durable!!)
- Determine your peg spacing and mark your board.
I decided to space my pegs 5 inches apart. Traditionally shaker pegs were spaced 12 inches apart, but it’s really up to you to decide what spacing works for you and your home!
- Pre-drill the holes and install your peg hooks.
I used these wooden shaker pegs and they were so easy to install because they come with a screw sticking right out of the back of the peg! Once you pre-drill the holes, attach the pegs to your shelf by screwing them into the holes. The hardest part is just making sure you line up the holes level and evenly spaced.
- Install Your Peg Rail Shelf.
Before hanging my shelf on the wall, I used a stud finder and marked the studs with a pencil. Then I used 3 inch screws to attach the shelf to the wall, being sure the screws went into the studs so the shelf will be nice and sturdy.
- Caulk & Paint!
Caulk the seams and let it dry fully. Then paint and enjoy your new peg rail shelf!

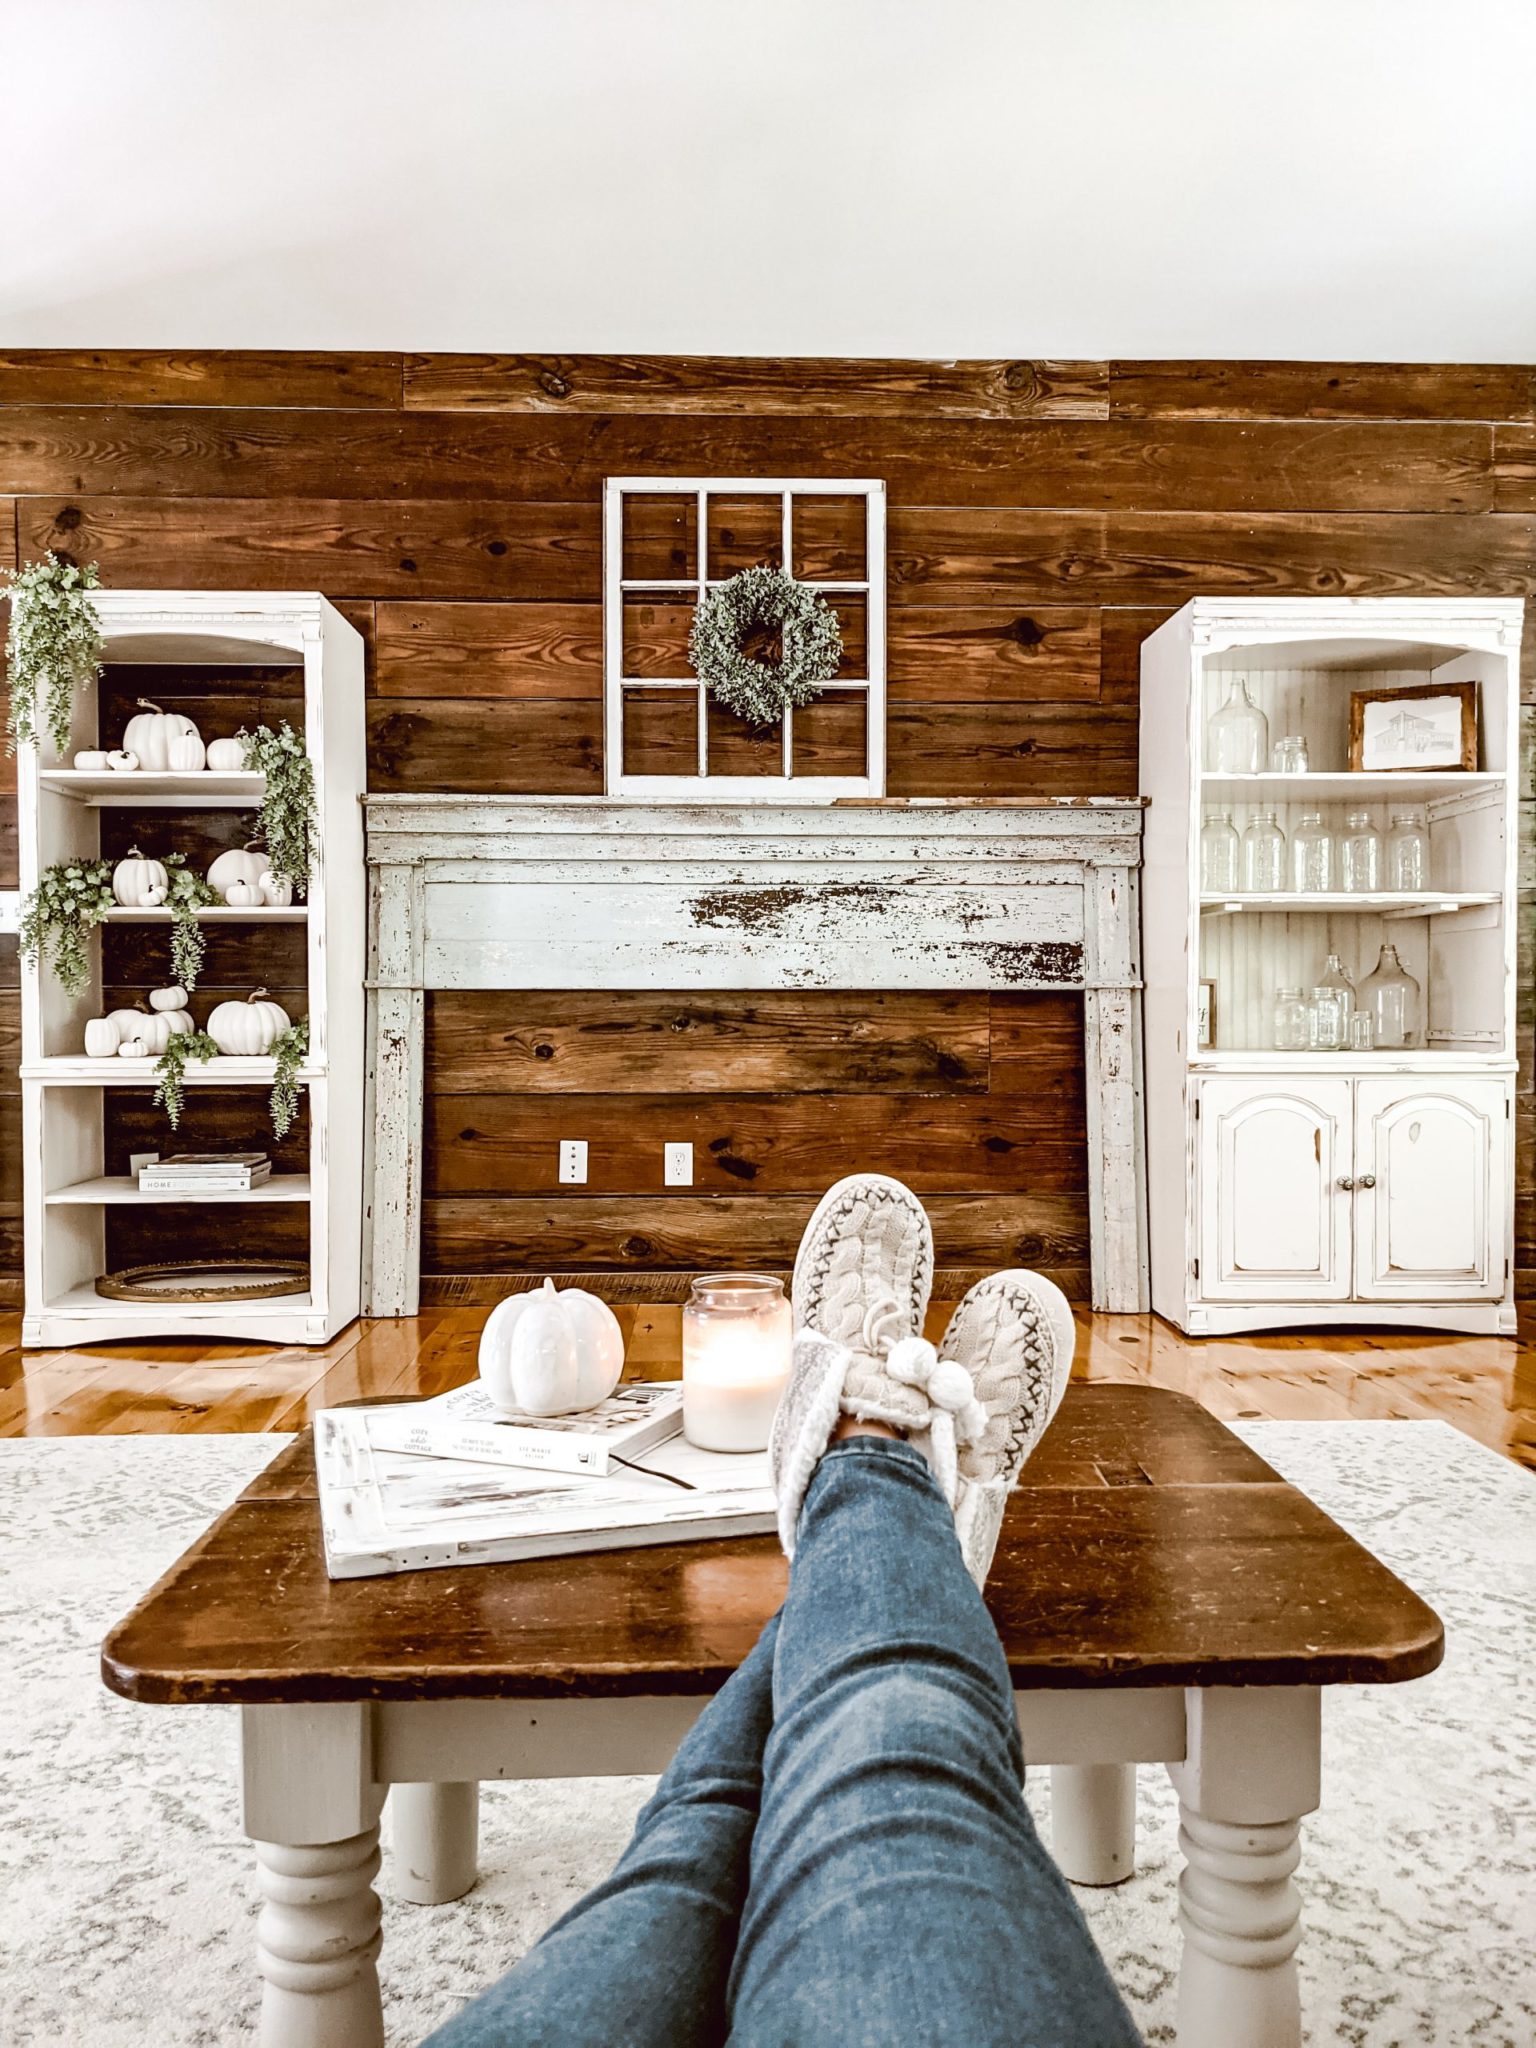
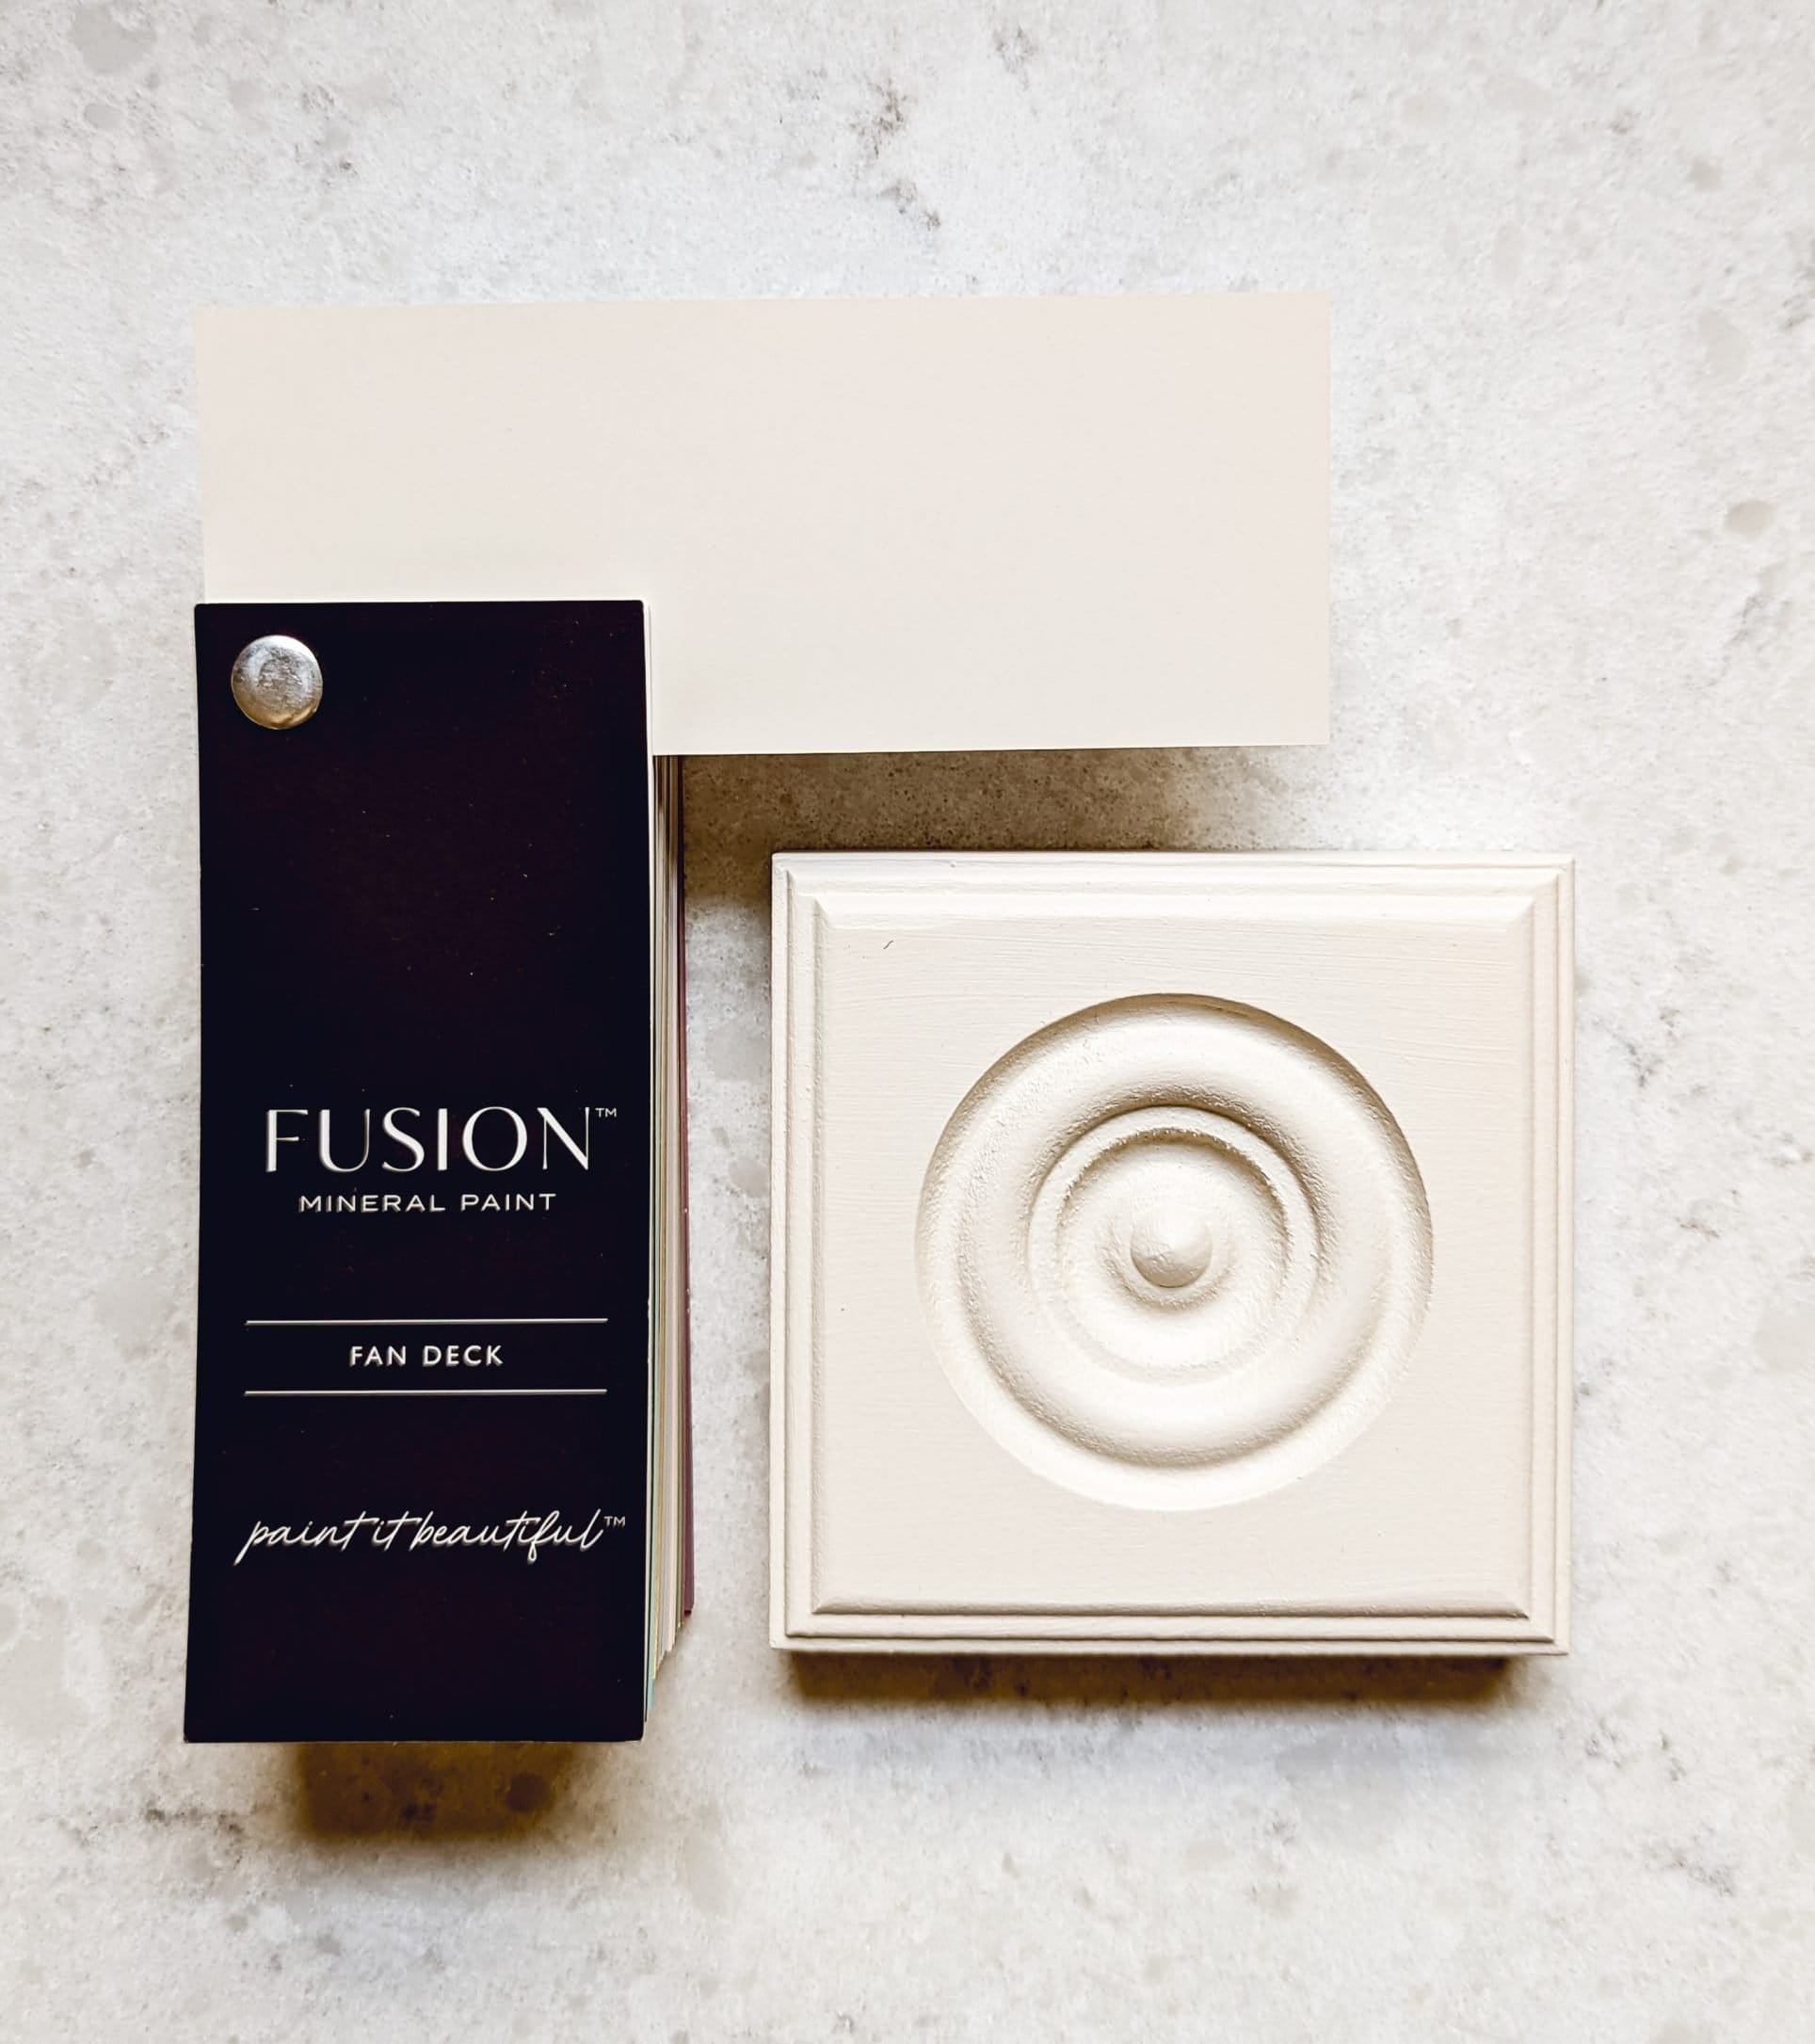
I tried out three different paint colors before ultimately landing on Putty by Fusion Mineral Paint! It is such a beautiful mushroomy color and I love using it in our home!
for your next DIY
Save 10% on Fusion Mineral Paints with code:
You can see what Fusion’s Putty looks like on our doors and also on this secretary desk. Never used Fusion Mineral Paint before? Check out this post for a full paint color review of Putty by Fusion Mineral Paint.

Materials You Will Need:
- Paint color – Putty by Fusion Mineral Paint
- Amazon – Screw in Peg Hooks
- Walmart – Floating Picture Frames
- My Sister’s Cottage – Old Whaling Co Bath Products & Soap Dish
- Vintage Longaberger Wall Basket – Fleabody’s
- Vintage Glass Bottles – Found on our farm! (Click here for the cool story behind these old, found glass bottles!)


Ready To Install Peg Rails
Ok, but what if you’re not ready to build a DIY peg rail shelf in your home just yet. Don’t worry, I got you! Did you know you can buy a peg rail that’s already assembled? I found this wooden peg rail at our local Walmart, and it comes ready to install. All you need to do is paint or stain it, if you choose, then hang it in your home! I opted for the DIY route because I love a project, and I wanted our peg rail shelf to extend the exact length of this wall in our bathroom. Also, we had spare lumber left over from a previous project. But a premade wooden peg rail could be a great option for you if you’re not wanting to take on a full on DIY project!
Want to see some more ready to install peg rail options? I linked a few that I found and loved below!!


Now that I know how to build a peg rail shelf, you can definitely expect to see a few more of these here at the farmhouse! I love how this project and this space turned out!! I hope today’s post was helpful, and I hope it brought you a little inspiration too! Thanks for stopping by the blog today, and as always, thanks so much for following along…


It came out so good Brittany! Love it!!!