In a recent article, I showed how easy it is to make a really stylish Tatooine base for your miniatures using Citadel’s Agrellan Earth texture. The good news is that that product is not just good for desert looks, but for a whole range of interesting environments.
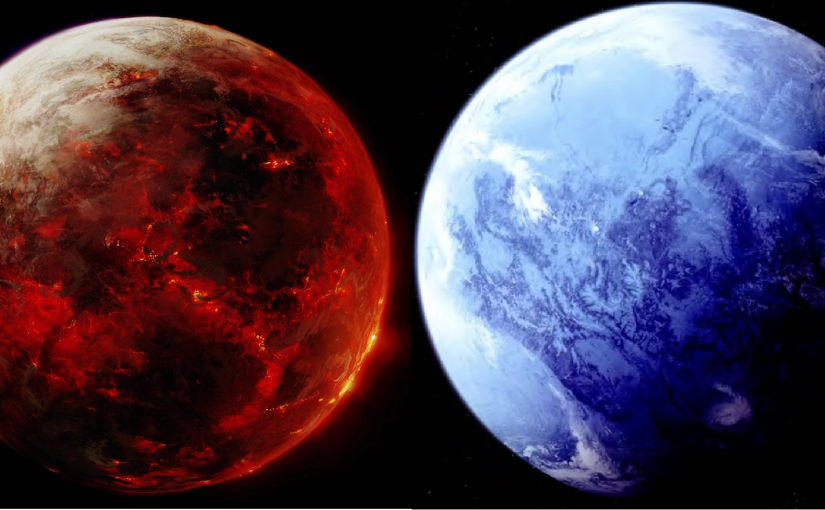
Because with just a little bit of creative color work and accessorizing, you can also use that texture to put your minis on two more iconic Star Wars locales: fiery Mustafar, the planet of Anakin’s demise and Vader’s castle, and icy Ilum, which of course you already know.
Wait, you don’t know Ilum?
You know, Ilum. Out in the Unknown Regions. From that one season six episode of the Clone Wars. With Ahsoka and the Jedi Temple and all those kyber crsytals. Or from that brief appearance in Star Wars: The Old Republic with all the…Adegan crystals? Whatever they were called back then.
Wait, no, you probably know Ilum by its (alleged) First Order name: Starkiller Base.
(Originally this was going to be my Hoth base, but I wanted to make more of a true-Hoth snowy plain base later on, so here we are. On Ilum. The place that you definitely know).
Anyways, let’s get started, using the same easy steps as before to create two tonally different bases.
1. Paint the Foundation Color
Much like with the Tatooine bases, this will work much easier if you wait to glue your mini on until after you’ve finished the base. It will come out mostly flat, so you shouldn’t have to worry too much about careful placement of feet after the fact.
First, prime your base with a white or light grey color. It doesn’t have to be perfect, we just want to give a good foundation so that our initial colors come out nice and bright. Where as the Tatooine base needed a dark foundation to give the illusion of depth in the cracks, we want the bright color to really shine through and sell the feel of the planet.

For Ilum, you can safely paint the whole base a light blue color (I used Vallejo’s Aquamarine, which is a personal favorite) – we want to mimic a beautiful frozen lake with this initial coloring, and will tone it down later. You can see that in my initial run I added just a slight gradient to keep things interesting, but it’s not necessary and I ended up removing this for my final product.
For Mustafar, you can have a bit more fun with a loose, splotchy gradient. I started by placing a bright yellow on one side and a bright red on the other side. While they were both still went, I put a bit of watered down orange paint on my brush and mixed them together. Since we’re trying to create a lava look, you can have obvious brush strokes and swirls in the paint. It will only add to the effect.
Once this has dried completely, it’s time to move on.
2. Add the Agrellan Earth Texture
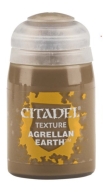
As per the Tatooine article, we know that a heavy, gloopy application of Agrellan Earth gives us some really thick cracks with plenty of spacing. This is exactly what we want for both locales, so don’t be afraid to really pile the product on there.
In the case of Ilum this will make a very cool cracked-snow-over-ice look, while Mustafar while look like cooled lava with the flow underneath just peeking through. You’ll see in the photos below that I went extremely heavy on Ilum and a bit lighter on Mustafar, so you can experiment for your own preference.
3. Detail with Dry Brushing
Now, we take a fairly heavy amount of paint on a dry brush, wiping just a bit off on a paper towel so it’s not too thick, and we can dry brush the top of the Agrellan Earth texture either a light, light blue (Ilum) or black (Mustafar).
Dry brushing works best here because it helps us avoid getting paint into the cracks, which would cover up the colorful foundation we put down. Feel free to do a couple of coats at different angles to maximize coverage.
Once the base color of black or light blue is down, add a slight touch of red highlights to the Mustafar base and some much stronger white highlights to the Ilum base to create some interest areas.
Feel free, too, to experiment with a bit of grey highlights on both to add further contrast, and add a bit of very thin white paint to the foundation color on Ilum if you need to tone down the brightness of the ice.

4. Add the Miniature
Once it’s all dry, glue the miniature however you’d like!
Make sure to go light on the glue so it doesn’t spill out from under the mini and create a weird texture on your completed base.
5. (Optional) Accessorize
If you’re doing this theme for a number of miniatures, you might consider adding a few accessories to change things up.
For Mustafar, you could add some cork chippings (like from a wine cork) painted black to create crags in the dried lava.
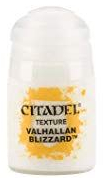
For Ilum, you might use a favorite product of mine, Citadel’s Valhallan Blizzard, to create a snow drift on top of some of the ice.
As a last touch of detail, you could also use a knife or carving tool to pop up a few of the loose bits of dried Agrellan Earth to let the foundation color really pop through, but as with the previous two bits this is totally up to your taste.
Don’t be afraid to get creative!
And there you have it, two more amazing bases to really make your miniatures stand out on the battlefield.
If you use this guide I’d love to see your photos in the comments below or on the Legion Facebook groups.
Happy painting, Commanders!
